🔗 1. Adding the Zoom App
- Log in to your Creamind Creator account.
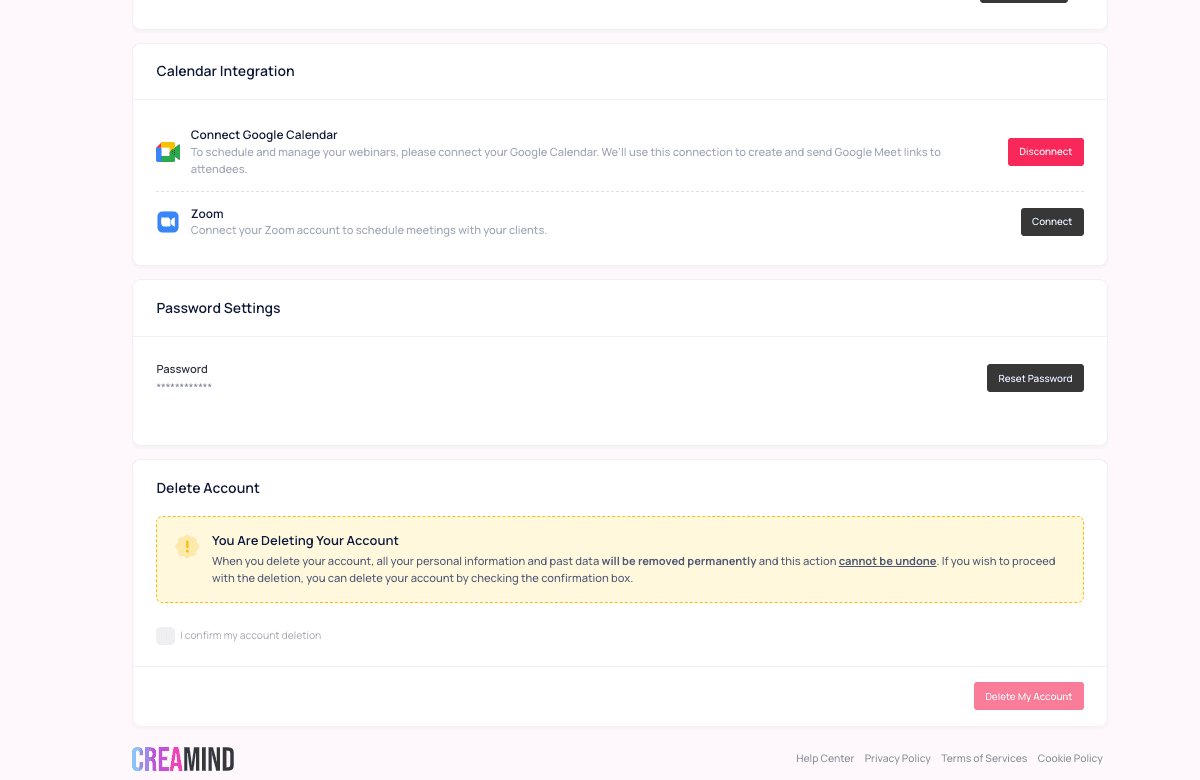
- Navigate to Profile > Calendar Integrations.
- Click the Connect button next to Zoom.
- You’ll be redirected to the Zoom authorization page.
- Sign in to your Zoom account and click Authorize.
- Once authorized, you will be redirected back to Creamind with a confirmation message.
🎤 2. Using the Integration
After successfully connecting your Zoom account, you can create and publish webinars on Creamind by following these steps:
- Go to Webinars > Create a Webinar in your Creamind dashboard.
- Fill in your webinar details (title, description, date, time, price, etc.).
- Under “Webinar Provider,” select Zoom.
- Click Save & Publish.
✅ Once published, a unique Zoom link will be generated automatically using your connected account.
What Happens Next:
- When a user purchases your webinar, the Zoom link will be automatically sent to them via email and (if opted in) via WhatsApp.
- Attendees can also access the link and event details from the Webinars tab in their Creamind account.

❌ 3. Removing the Zoom App
To disconnect Zoom from your Creamind account:
- Go to Profile > Calendar Integrations in your Creamind dashboard.
- Click the Disconnect button next to Zoom.
To fully remove Creamind from your Zoom account:
- Sign in to your Zoom account at https://marketplace.zoom.us.
- Go to Manage > Added Apps.
- Find the Creamind app.
- Click Remove.
Effects of Removing:
- You will no longer be able to create new webinars using Zoom.
- Existing webinars will remain on your account, but any Zoom-based functionality will no longer work.
- Creamind does not store your Zoom data after disconnection; all Zoom-specific data is handled by Zoom.
📞 6. Contact Support
If you need help, our support team is ready to assist you:
💌 Email: [email protected]
📚 Help Center: help.creamind.me